

I created these cake eggs for Easter this last weekend. They were super easy. I used an old yellow container to display my eggs that friend lent me. She provided my inspiration for this idea because she made something similar the week before for her family. The idea was to make them look like eggs in the grass.
Materials Needed:
1 box of cake mix (any flavor, I used vanilla)
2 different flavors of frosting
1-2 packages of vanilla candy coating
Sprinkles or decorations
Lollipop sticks

First thing I did was bake up the cake, following the instructions on the back.Baking it in a 9x13 pan. I didn't bother with letting it cool more than a few minutes since you will be smashing it up shortly. After it was done I but the cake into halves and crumbled it into 2 different bowls to be mixed with a heaping spoonful of different flavored frosting in each bowl. 
Then I mixed up the cake and frosting's in the bowls and used my clean hands to shape the cake balls into eggs. If you find that your cake is to crumbly then give it some more frosting.

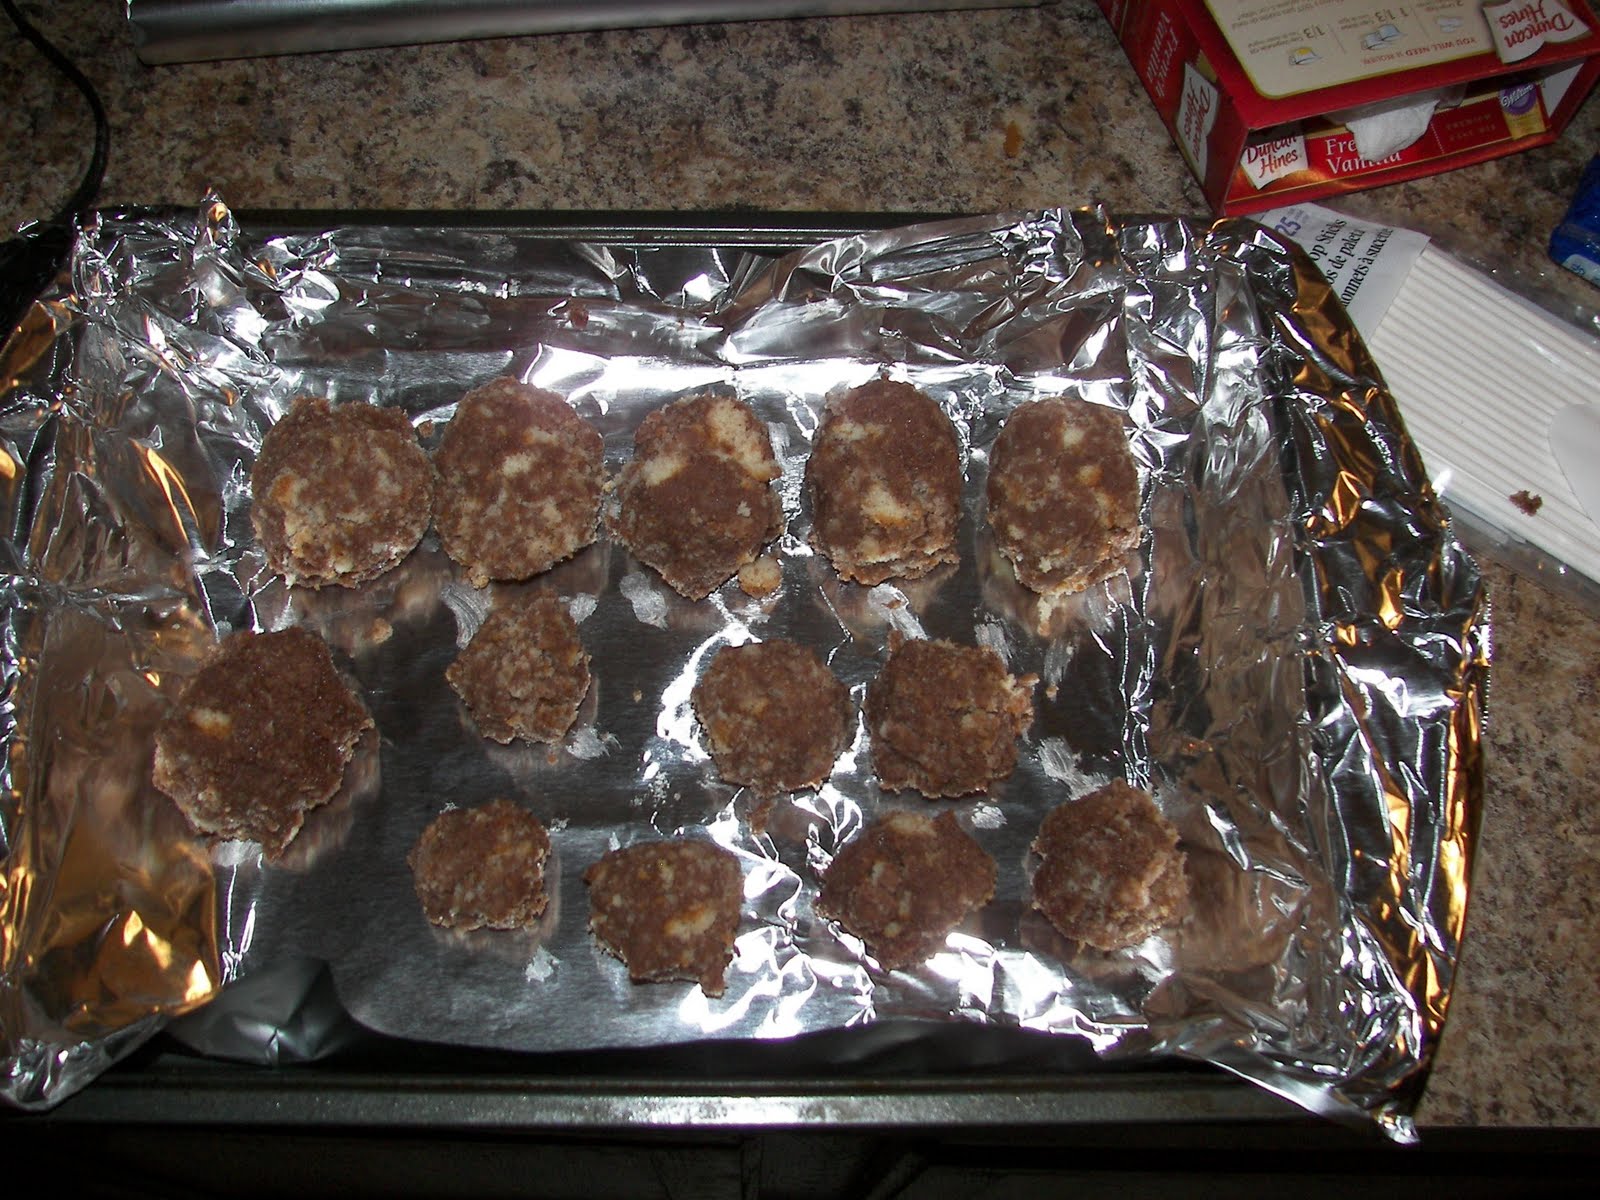
After all my eggs had been molded I then placed them into the fridge overnight so that they could set up and be firm for the next day. I think that if time doesn't allow for overnight you could just use a few hours in the fridge for the same result. The next morning I pulled out my eggs and pushed lollipop sticks into the bottoms so that they were more like suckers.

Then melted the candy coating in the microwave and dipped each egg. This was a little tricky because the heavier the eggs were the more they wanted to fall into the warm coating. So I ended up spooning the coating on to each one and letting it drip to make sure there was not to much on them. I then sprinkled them and set to dry on a piece of wax paper. After they were dry I refrigerated them again until I was ready to use them. About 10 minutes before my Easter guests arrived I put them out to display. They were snapped up fast and I got a lot of compliments on my cake eggs!
P.S. These would be super cute for any occasion, give it a try!
Love, Jen


